1. The Blueprint Format
  2. Cameras

The Blueprint Format

Cameras

Cameras are used to control the player's view during an animation by forcing the player to spectate an animated item_display.

Installing the Camera Plugin

Animated Java does not include camera functionality by default. To add camera functionality to your Data Pack, you will need to install the Camera Plugin.

Creating a Camera

To create a camera, right click the Outliner and select Add Camera.

add-camera-action

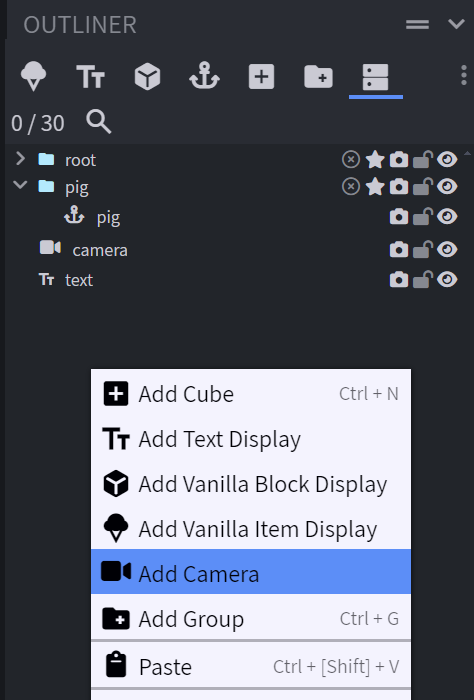
If this button isn't there, you can press h and then search for Add Camera.

Animating Cameras

Cameras can be animated by adding keyframes to their position / rotation Timelines just like any other element.

Excuting Commands as / at Cameras Externally.

Sometimes you may want to execute commands at a specific camera's position / rotation from an external function. This can be done by getting the camera's information using the data entity's data.cameras.<camera_name> NBT.

Example

Teleport the nearest player to the position of a specific camera.

foo/as_root.mcfunction
        execute as <root> on passengers if entity @s[tag=aj.data] run \
  function foo:position with entity @s data.cameras.<camera_name>

      
foo/position.mcfunction
        $execute positioned $(posx) $(posy) $(posz) rotated $(roty) $(rotx) run \
	tp @p ~ ~ ~ ~ ~

      
Example

Force the player to spectate a specific camera.

foo/as_root.mcfunction
        execute as <root> on passengers if entity @s[tag=aj.data] run \
  function foo:select with entity @s data.cameras.<camera_name>

      
foo/select.mcfunction
        $execute as $(uuid) run spectate @s @p